In family life, the bathroom is one of the areas with the most frequent water usage. Once the internal water pipe system leaks, it not only causes waste of water resources, but may also damage the structure of the house and even affect residential safety. Therefore, it is crucial to promptly detect and properly handle water pipe leaks in the bathroom walls. This article will provide a detailed introduction on how to detect water pipe leaks in bathroom walls and provide corresponding repair guidelines.
1、 Observation of signs of water leakage
Firstly, we need to carefully observe the surface of the bathroom walls, floors, ceilings, and other areas to look for the following signs of water leakage:
1. Moisture and water stains: The appearance of moisture, water stains, or bubbles on the wall surface is a direct manifestation of water infiltration.
2. Mold: Prolonged exposure to water vapor can cause walls to mold, resulting in black or green mold spots, which are the result of the accumulation and persistent presence of moisture.
3. Discoloration: Wall coatings or tiles may discolor due to prolonged exposure to moisture, typically resulting in darkening or fading of color.
4. Sound: In a quiet environment, you can hear the subtle sound of water flow or dripping inside the wall, which is the sound produced when water flows through cracks or damaged areas.
2、 Detection of leakage points
Once the above signs of water leakage are observed, it is necessary to accurately locate the leakage point. Here are some effective detection methods:
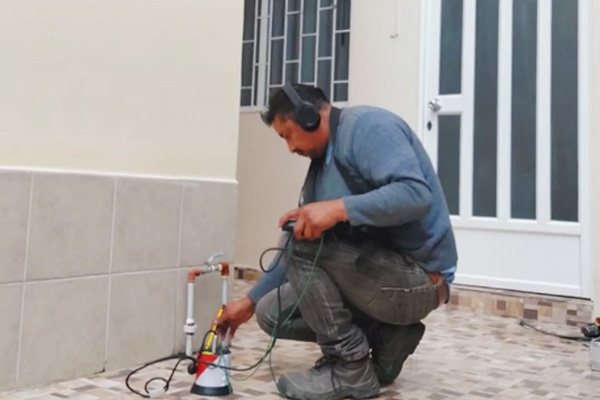
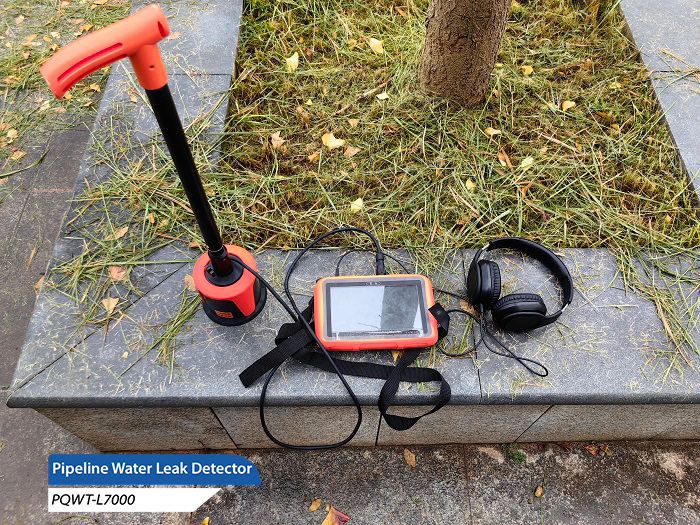
1. stethoscope detection: Use a professional pipeline leak detector or a simple metal rod to approach the wall and listen carefully for any sound of water flow or dripping. There is usually a noticeable hissing or ticking sound at the leakage point.
2. Infrared thermal imager detection: Infrared thermal imagers can detect temperature changes on walls. Due to the low temperature of the water, the leaking area can cause a decrease in wall temperature, which is displayed as an abnormal temperature area in the image of the thermal imager.
3. Humidity meter detection: Use a humidity meter to measure the humidity of the wall. If the humidity is higher than the normal range, it may be due to water leakage from the wall's pipes.
4. Wall removal inspection: If the above methods cannot determine the location of the water leakage, it may be necessary to remove part of the wall to directly inspect the water pipes. This method is relatively direct, but it may cause some damage to the wall and requires careful operation.
5. Professional equipment testing: such as pipeline leak detectors, gas pipeline leak detectors, etc. These pipeline leak detectors can more accurately locate the leakage point, but usually require professional personnel to operate.
3、 Repair steps
Once the leakage point is identified, corresponding repairs can be carried out. The following are the general steps for repair:
1. Turn off the water source: Before conducting testing and maintenance, be sure to close the water supply valves related to the leaking area to stop the water flow.
2. Dismantling the wall: Use appropriate tools (such as wall saws, hammers, etc.) to carefully remove the wall near the leakage point, exposing the internal water pipes.
3. Check the water pipe: Carefully inspect the condition of the water pipe and look for cracks, damages, or loose connections.
4. Repair water pipes:
If there is water leakage at the water pipe joint, you can purchase a joint of the same model for replacement and seal it with raw tape or waterproof glue.
If the pipeline itself is damaged, it needs to be repaired according to the degree of damage. Minor damage can be repaired using waterproof tape or PVC adhesive; If it is severely damaged, the entire pipeline needs to be replaced.
5. Waterproof treatment: After the repair is completed, waterproof treatment should be carried out around the leaking pipeline to prevent further leakage. Materials such as waterproof coatings or waterproof rolls can be used.
6. Fill the hole: Use cement, gypsum board, or other suitable materials to fill and level the removed wall hole.
7. Repainting or tiling: Painting or tiling the wall as needed to harmonize with the original wall.
8. Pressure test: After the repair is completed, it is recommended to conduct a pressure test to check the repair effect. By pressurizing the water supply pipe and observing the pressure changes, the success of the repair can be determined.
4、 Preventive measures
To prevent the recurrence of water pipe leakage in the bathroom walls, the following are some preventive measures:
1. Regular inspection: Regularly inspect the water pipes and related facilities in the bathroom, promptly identify potential problems and handle them.
2. Use high-quality materials: When installing or repairing water pipes, selecting high-quality pipes and materials can effectively reduce the risk of water leakage.
3. Professional installation and maintenance: If the water leakage problem is serious or cannot be solved by oneself, it is recommended to seek professional plumbing engineers or testing companies for testing and maintenance. They possess professional equipment and skills to more accurately locate the leakage point and provide effective solutions.
The detection and maintenance of water pipe leakage in the bathroom wall require careful observation and professional operation. By promptly identifying and properly repairing water leakage issues, we can effectively protect the living environment and extend the lifespan of the house. I hope this article can provide you with valuable reference and assistance.


