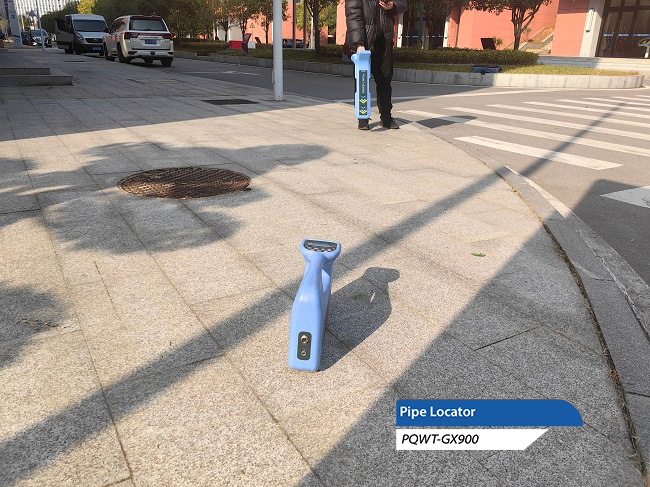
With the continuous promotion of urban infrastructure construction, Pipe Cable Locator has become an indispensable and important tool in modern engineering. In order to ensure that it can efficiently and accurately fulfill its detection tasks, daily maintenance and self-checking are especially crucial. This guide will give you a detailed introduction to the daily maintenance points and self-checking steps of Pipe Cable Locator, which will help you easily master the maintenance skills of the equipment and ensure the smooth running of the detection work.
I. Maintenance Points
The Pipe Cable Locator should be stored in a dry environment with suitable temperature to ensure that the device is protected from humidity and extreme temperature. It is recommended to charge the device once every three months, and the charging time is controlled at 8 to 12 hours to ensure that the battery maintains the best condition.
Avoid prolonged exposure of the device to sunlight or in low temperatures (below -10°C) to prevent damage to the LCD screen and deterioration of the case. Extra care should be taken when using the device on rainy days and try to take good measures against rain and moisture. If the equipment is inadvertently wet or damp, it should be dried immediately to avoid damage to the internal circuitry.
In the process of use, if you find any abnormal phenomenon of the instrument, please contact the professional maintenance personnel in time, so as not to delay the work and cause unnecessary losses.
Second, the correct charging method
Connect the charger to 220V 50HZ mains power and make sure the charger indicator light is on (green). Subsequently, insert the charging head into the charging seat of the host of the underground cable detector (the host needs to be in the off state). At this time, the charger indicator light should turn red, indicating that the system is charging normally. After a period of time, the charging indicator light turns from red to green, which does not mean that the battery is fully charged, but the charger has changed from a high-current fast-charging state to a low-current slow-charging state. To ensure that the battery is fully charged, please make sure that the charging time reaches 8 to 12 hours.
If the charger indicator does not turn red after the charging head is inserted into the charging cradle of the main unit and there is no display when the unit is turned on, this may be due to a loose or poor contact with the battery inside the unit. At this time, please open the battery cover and reinstall the battery to ensure a solid connection.
Third, the instrument self-test steps
Panel key check:
1. Transmitter: Operate the keys according to the function profile to ensure that all keys function properly.
2. Receiver: Operate each key according to the function introduction and check whether its response is normal.
Working status check:
1. Signal output and reception mutual inspection: Use direct cable to connect the transmitter and receiver to check whether the signal transmission is normal. When moving the receiver, observe whether the signal display changes with it to verify the working status of the equipment.
2. Coupling clamp check: connect the coupling clamp with the transmitter, observe the impedance display and the sound of the coupling clamp to ensure that it is in normal working condition.
3. "A" frame check: use a direct line to connect the transmitter, and "A" frame and receiver connected. Test near the red clip or black clip grounding point to observe the signal reception and verify the working status of the "A" frame.
Through the above steps, you can ensure that the Pipe Cable Locator is properly maintained on a daily basis and that potential problems are detected in time through self-tests, thus guaranteeing the stable and efficient operation of the equipment.


