Pipe leakage not only causes waste of water, but also leads to damage to the building structure and even affects the safety of the living environment. Therefore, it is crucial to find the leakage point accurately and quickly. In this article, we will introduce the process of pipeline leakage detection in detail, from pressurization test to the application of pipeline leak detector, as well as the problems and solutions that may be encountered during the operation.

Pressurization test: initial screening
Equipment selection: electric silent pressurizer is one of the key equipment for pipeline leak detection, which can continuously provide stable pressure and run with little sound, avoiding interference with the subsequent leak detection work.
Pressure settings:
-Tap water cold and hot water pipes: it is recommended to pressurize to 0.6~0.8Mpa, keep the pressure and observe for 30 minutes.
-Heating pipe: it is recommended to pressurize to 0.3~0.5Mpa, keep pressure and observe for 10 minutes.
Precautions:
1. Safety first: be sure to close all relevant valves before pressurization, including the meter front gate, water heater, wall-hung boiler, solar energy, water purifier, etc., to prevent excessive pressure damage to equipment or cause safety accidents.
2. Be careful with old pipelines: for pipelines in old residential areas, a lower pressure range should be taken to prevent old pipelines from rupturing when they can't withstand the pressure.
3. Prepare multiple gauge kits: In order to improve efficiency, you can prepare multiple sets of pressurized gauge kits to pressurize hot and cold water pipes and floor heating pipes at the same time to save time.
4. Tight connection: Make sure the pipeline connections are well sealed and free of leaks.
Positioning of pipeline leak detector: precision strike
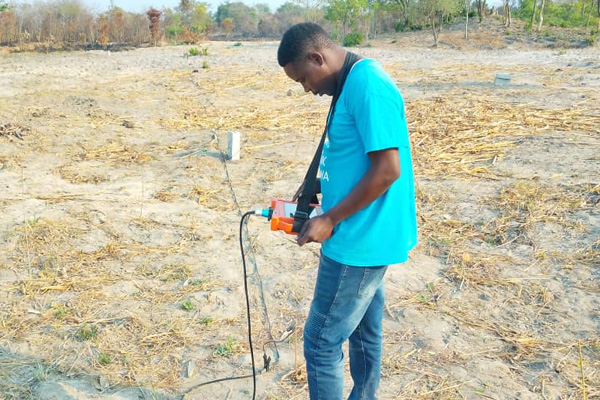
The pipeline leak detector is designed based on acoustic principles to pinpoint leaks by capturing and analyzing the specific sounds and vibrations generated by the leak. When using pipeline leak detector, you should follow the principle of “first near then far, first local then whole” to gradually narrow down the search scope.
Detection process:
1. Understand the layout of the water pipe: familiarize yourself with the direction and distribution of the pipeline to provide basic information for subsequent testing.
2. Implementation of pressurization: complete the pressurization test according to the above steps.
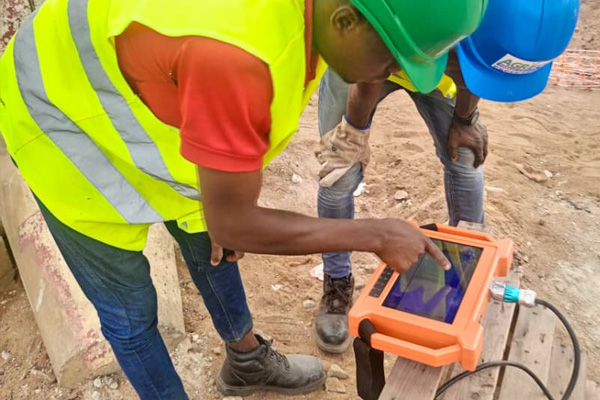
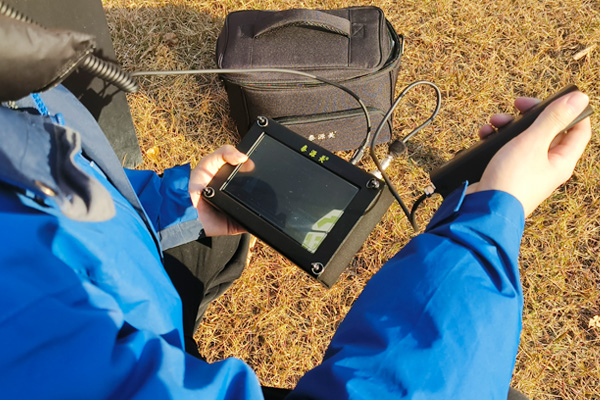
3. Sound and vibration localization: use the leak detector to capture the sound and vibration characteristics emitted from the leakage point for accurate localization.
Troubleshooting tips:
1. Micro-leakage detection: When faced with small leaks, you can use a mixture of water and gas pressure to change the sound characteristics of pure water flow, making it easier to be captured by the pipeline leak detector.
2. Noise interference: in the noise environment, should focus on the frequency band of 400 ~ 800Hz, the sound of water leakage is usually in this band, and its loudness is relatively stable. Use the filtering function of the instrument, specifically to monitor the sound intensity of this band.
3. Leakage point crosstalk: in the pipeline is dense or hollow area, the leakage sound is easy to spread, the formation of crosstalk. At this time, the leak detector needs to carefully identify the sound differences at different frequencies to eliminate interference and accurately determine the leakage point.
Conclusion
Pipeline leakage detection is a technical and empirical work, from pressure testing to sound vibration localization, each step needs to be rigorous operation. Mastering the correct detection process and skills, with professional equipment, in order to efficiently and accurately find the source of leakage, timely repair to avoid greater losses.