In home life, bathroom water leakage is a common problem, which not only leads to the waste of water, but also may cause moldy walls, floor deformation and other more serious consequences. In order to quickly and accurately find the leak and take appropriate measures to fix it, it is very helpful to use a professional bathroom water pipe detector. This article will guide you how to use such instruments to solve the problem.
Preparation

Before you start, please make sure you have the following tools ready:
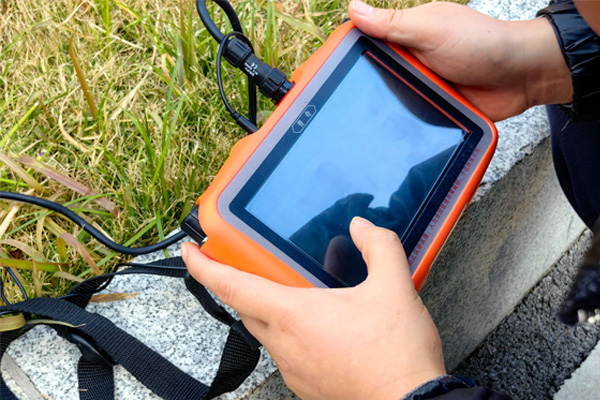
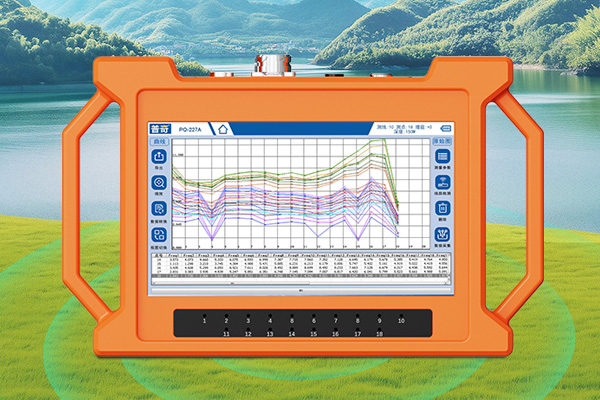
Detect bathroom water pipe detector: usually consists of a main unit, a probe and a connecting cable.
Cleaning supplies: such as dry towels or paper towels, used to clean up and check potential leakage areas.
Recording tools: pens and notebooks, used to write down important information found during the detection process.
II. Operating Steps
1. Turn off the water supply
Before conducting any test, turn off all water valves in the bathroom, including but not limited to sink faucets, showerheads, and toilet water supply valves, to prevent new water flow from interfering with the test results.
2. Clean the surface to be tested
Thoroughly dry walls, floors, and other areas that may harbor moisture with a clean cloth to help improve test accuracy.
3. Assemble the device
Assemble the parts of the detector correctly according to the instructions. Connect the wires between the probe and the main control unit, turn on the power switch and follow the instructions to complete the initial setup.
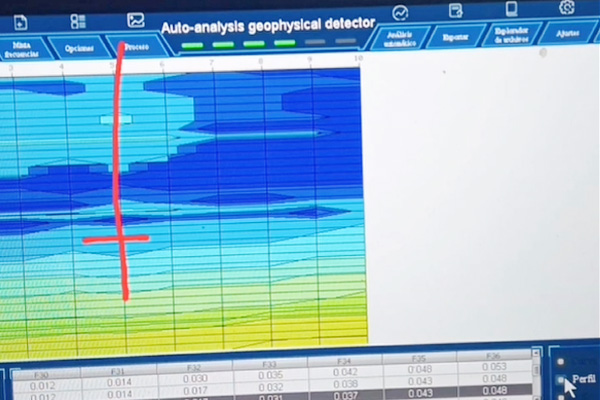
4. Start Scanning
Hold the water pipe detector probe gently against the surface to be inspected and move it slowly. Observe the change in reading on the screen. Once close to the source of the leak, the unit will often sound an alarm or light up as a reminder.
5. Marking the Leak Location
When you find something suspicious, immediately point out the exact location with a marker and make notes. Further verification of the correctness of the judgment can be done by trying again to absorb any trace of leakage that may have occurred at the location using dry material.
6. Analyze the cause and formulate a solution
Examine the known leakage points in detail to find out the reasons behind, such as cracked pipes, loose joints or failing waterproofing. Based on this, the most appropriate repair plan is planned.
7. Implementing the repair work
Remedial measures are taken for different types of faults. If the pipe is damaged, replace it with a new part; if it is caused by poor sealing, reapply adhesive to reinforce it; for deteriorated waterproofing membranes, it is necessary to completely remove the old coating before laying a new protective layer.
8. Follow-up Verification
Once the repair is complete, re-activate the inspection device to verify that nothing has been missed and that the system has returned to normal operation.
By following these guidelines, even a layperson can effectively use professional tools to diagnose bathroom leaks in your home and take quick action to correct them. Remember to maintain your facility regularly to prevent potential problems and keep your home environment safe and comfortable.