Bathroom leaks are a common problem in many homes, which can not only cause inconvenience, but also lead to a waste of water. In order to solve this problem, here are some common steps for bathroom leak detection and repair:

First, confirm the location of the leak
First, the location of the leak needs to be confirmed. This can be done by observing and asking the owners. Need to understand the downstairs neighbors of the leak, as well as the location and direction of the house where the water pipe is located. This can be done by looking at the renovation drawings.
Second, conduct a water pipe pressure test
In order to confirm whether there is really a water leakage problem, you can carry out a water pipe pressure test. Close the main valve of the house water inlet pipe, then turn off all the faucet switches and corner valve switches inside the house, and remove the water heater's water inlet pipe to avoid the water heater being damaged when pressurized to check for leaks. Perform a holding pressure test with one faucet, using a pressurizer with 8 to 10 kilograms of water pressure to see if the pressure can be maintained. If the pressure can not be maintained, it means that there may be a leak in the water mains.
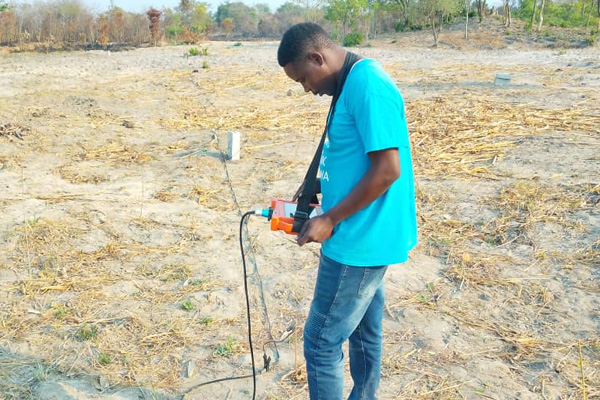
Third, the use of water leakage detector for testing
After confirming the existence of water leakage problems in the water pipe, you can use a professional water leakage detector to check the water leakage. The use of water leakage detector spectrum mode of the pipe for the overall test, through the sound of the headset as well as the cursor signal display on the screen to find the possible leakage point of the water pipe. In the same situation, where there is no leakage pipe, the sound inside the headphone and the equipment cursor signal are the same, but where there is a leakage pipe, the headphone sound and the equipment cursor signal will show an abnormal condition. By comparing the sound of the headset and the abnormal condition of the cursor signal, the suspected water leakage place can be found.
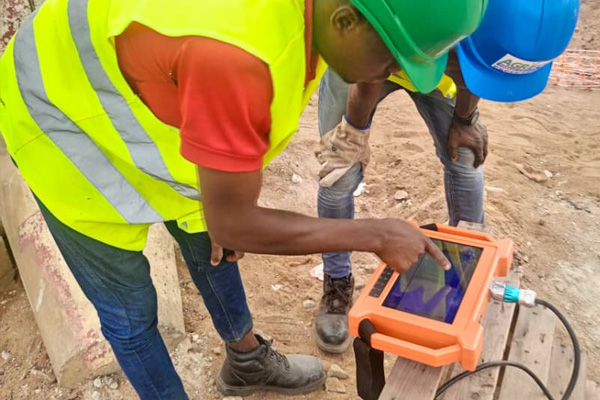
Fourth, verify the suspected leakage point
In order to ensure that the location of the "suspected water leakage point" is correct, you should continue to use the water leakage detector in the "filter analysis" mode to verify. There are 24 fixed frequencies in the "Filter Analysis" mode. Select the frequency of about 800 Hz as the center frequency of water leakage detection, "suspected leakage point" as the center of the circle to both sides of the extension of the comparison, the strongest signal point can be identified as "suspected leakage point". After the "filter analysis" mode of detection, you can once again confirm the leakage point.

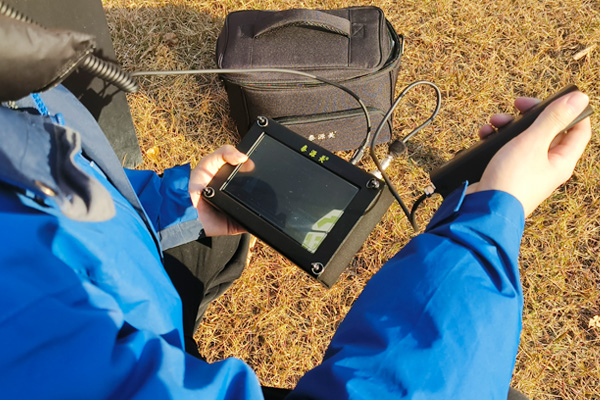
Fifth, reconfirm the leakage point
In order to ensure that the water leakage check is foolproof, you need to use the "filter analysis" mode in the advanced options in the "fine measurement" mode to complete the final verification test. Finally, the instrument shows the "precise measurement" results show that the "suspected leak" location of the highest height of the thick bar, indicating that the pipe leak is indeed in a certain location.
Six, repair leaks
After the above many times to check the leakage of water after accurate confirmation, you can start the leakage of the place for repair. Depending on the cause of the leak, you can choose different repair methods. For example, if the leak is caused by aging pipes, you can carry out the repair method of replacing the pipes; if the leak is caused by loose interfaces, you can carry out the repair method of reinforcing the interfaces.
These are some common steps for bathroom leak detection and repair. Through the careful implementation of these steps, you can quickly and accurately find the cause of the leak and take effective repair measures to solve the homeowner's troubles.